Your Cart is Empty

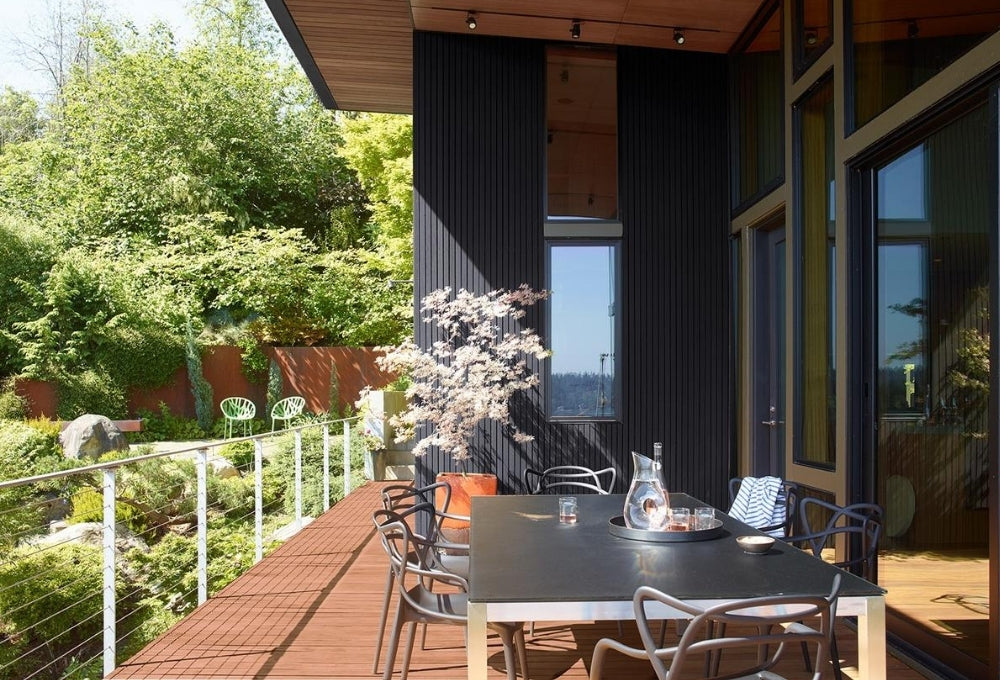
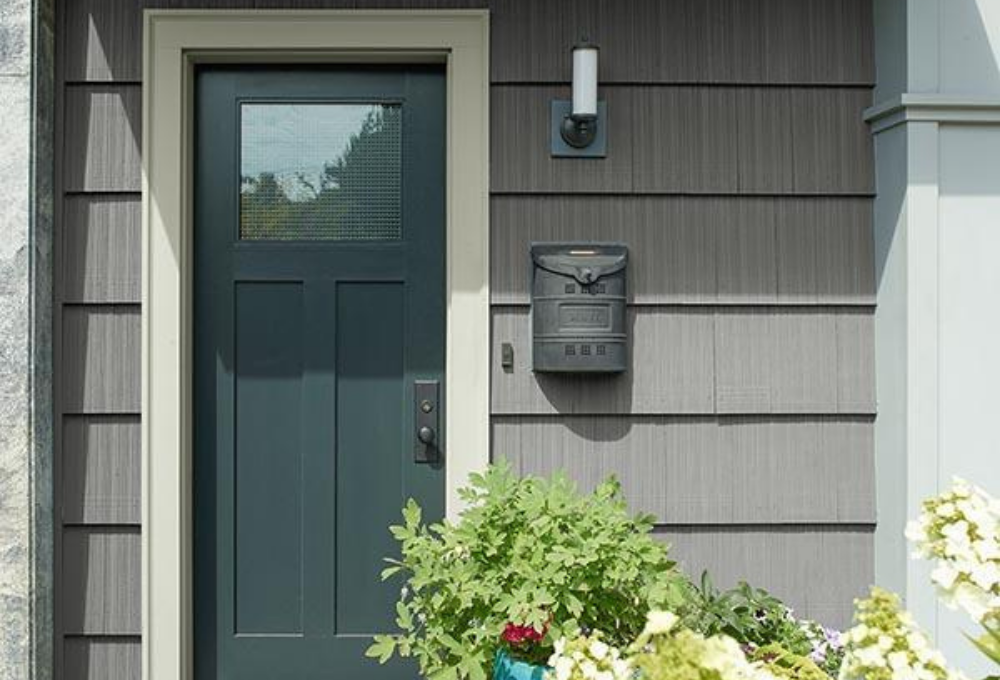
Spring has finally begun and we have finally started to see weather that is good for exterior projects! Outdoor projects have just begun and many folks will be looking to repair their deck or build a new one. Its important with a new deck to get it treated and protected as soon as possible. Today we will be covering how to prepare and use Arborcoat Exterior Stains on your deck.
“An ounce of prevention is worth a pound of cure.” Preparing your deck for stain takes time. Both new and old decks have a lot of preparation needed in order to be sure you have the most vibrant and long lasting results.
Old Stained Wood must have the original stain sanded off completely and be treated with deck conditioner to clean it. The original stain must be thoroughly removed and the deck should be aggressively swept to remove any particulate.
Weathered Wood that has not been treated needs to be chemically restored. Benjamin Moore® Restore is a good choice for helping to restore the wood, although it will need more sanding, prep work, and time.
New Wood requires special treatment to remove Mill Glaze, a type of seal that forms from the speed that boards are cut.
Any additional damage, such as Mildew will require a more specialized effort to remove and repair.
Testing the Deck is as hard as splashing some water atop the wood and seeing if it soaks in right away. If water lingers on top of the wood, it may require more sanding/cleaning to remove anything that may be blocking a stain.
Once you’ve fully treated the area you will be staining its a simple matter of application. Using a brush is usually the best way to apply stain. If you are using a roller, make sure to back brush to apply a uniform and complete coat. Its important to apply it evenly, brushing the edges of each panel or plank. Usually, a single coat of stain is all you need, although you may apply a second coat if the first coat’s color is not strong enough. For Arborcoat, recoat when the deck has dried (1 to 3 hours). As always, our color experts are ready to help you with tool suggestions, color advice, and more at your local Mallory Paint Store.